For all the farmers, gardeners, and growers out there, the growing season is fast approaching. Before we can start planting though, there’s a lot that needs to be done to get the earth ready. In the spirit of spring, we wanted to share a few of the myriad of ways you can prepare your land for a successful growing season.
1. Dry Out the Soil
Spring is a notoriously wet season. Whether you’re working with rainy, humid weather or in an environment where snow and ice are thawing as the temperatures warm, you have to wait for moisture levels in the soil to decrease to prepare your fields. Working soil that is too wet could result in unwanted compaction, root impediment, and nutrient loss. When you mix everything into a hard-packed, muddy sludge, you’ve essentially created an impervious layer that separates biological life from the important nutrients located in the subsoil.
By being patient and waiting for the soil to dry out some, you allow the soil texture to remain open and provide for healthy plants.
2. Disc and Plow Cover Crops
If you used cover crops over the fall and winter seasons to stabilize your beds during the dormant period, now is the time to mow down or disc these semi-mature covers. There are many ways you can go about doing this—with a tractor, a weed eater, a simple lawn mower, a scythe—the point is that you clear the area so the materials can start breaking down. After you’ve allowed a few days for the plant matter to settle, you can till or plow the area to help incorporate the material into the soil. The incorporated cover should be left to digest for 3 to 6 weeks before the beds are prepared for sowing and transplanting.
3. Use Silage Tarps
Silage tarps, also known as bunker covers, are large pieces of UV-treated polyethylene that were originally used for covering silage throughout fermentation and storage. Recently, farmers have started using them to prepare beds for planting without using any heavy equipment in the area. By covering your beds with them, weeds and cover crops are suffocated and killed, and the soil is heated. The warmer soil encourages weed seeds to sprout and then quickly die under the anaerobic conditions. Then, worms and other decomposers help incorporate the nutrients from the dead plant material into your soil.
All told, it takes about 3 weeks for this process to unfold and leave you with a stale seedbed ready for planting.
4. Build Beds
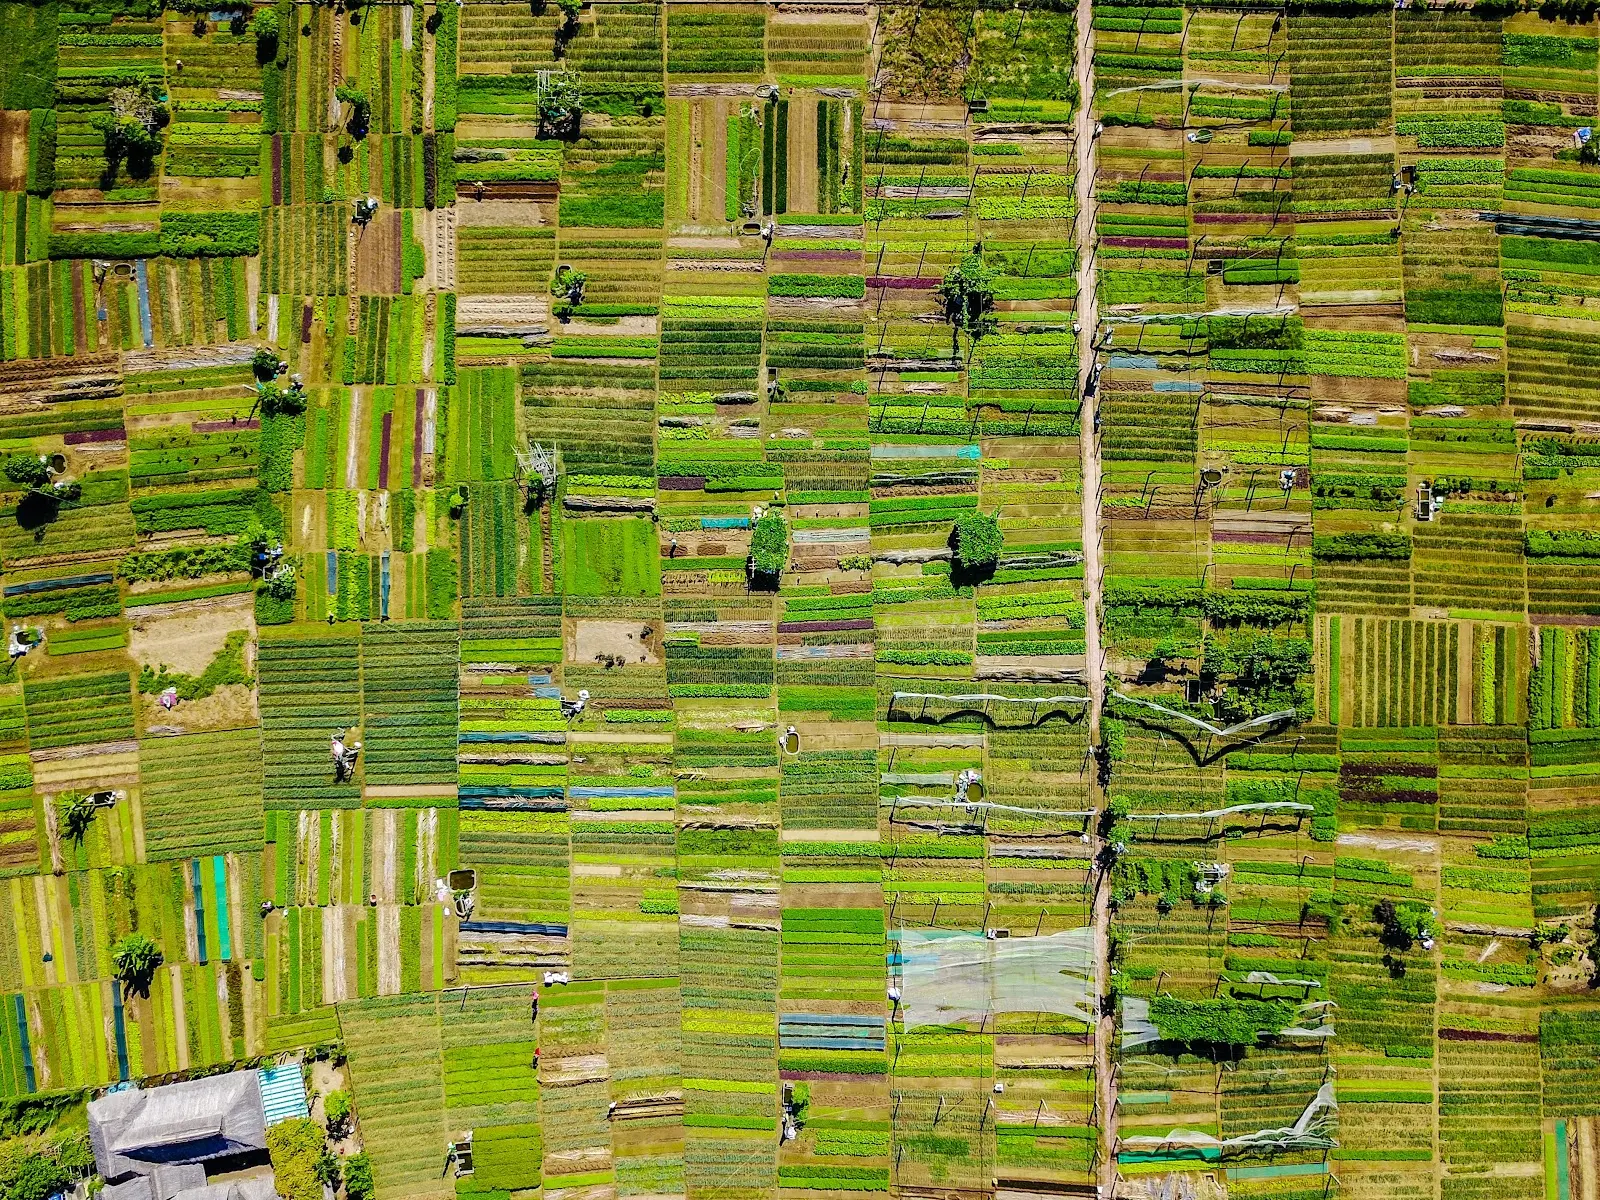
When building beds, there is no one right way to go about it. You could be using the newest, most advanced equipment or walking a team of draft animals through a field, but you need to make sure you create a growing system that aligns with your farm plan. As you plan your beds, be sure to consider a few things: the tools you have at your disposal, the width and length you want to make your beds, the landscape you’re working with, and your crop plan. One pro tip we have for you is to make the width and length of your beds consistent. This not only makes planting easier, it will help you during future crop rotations.
5. Test Soil Samples
Many people recommend testing your soil in the fall, but testing soil samples in the spring has many benefits, too. That’s because soil is a diverse, ever-changing community of organisms who are more or less active at different times of the year. Your soil will look different in the springtime than it did in the fall. While testing a sample in the fall shows you how the soil weathered crop production during the growing season, testing a sample in the spring allows you to see how it looks for your crops right now and gives you the opportunity to adjust nutrient inputs.
Plan Your Land With Land id®
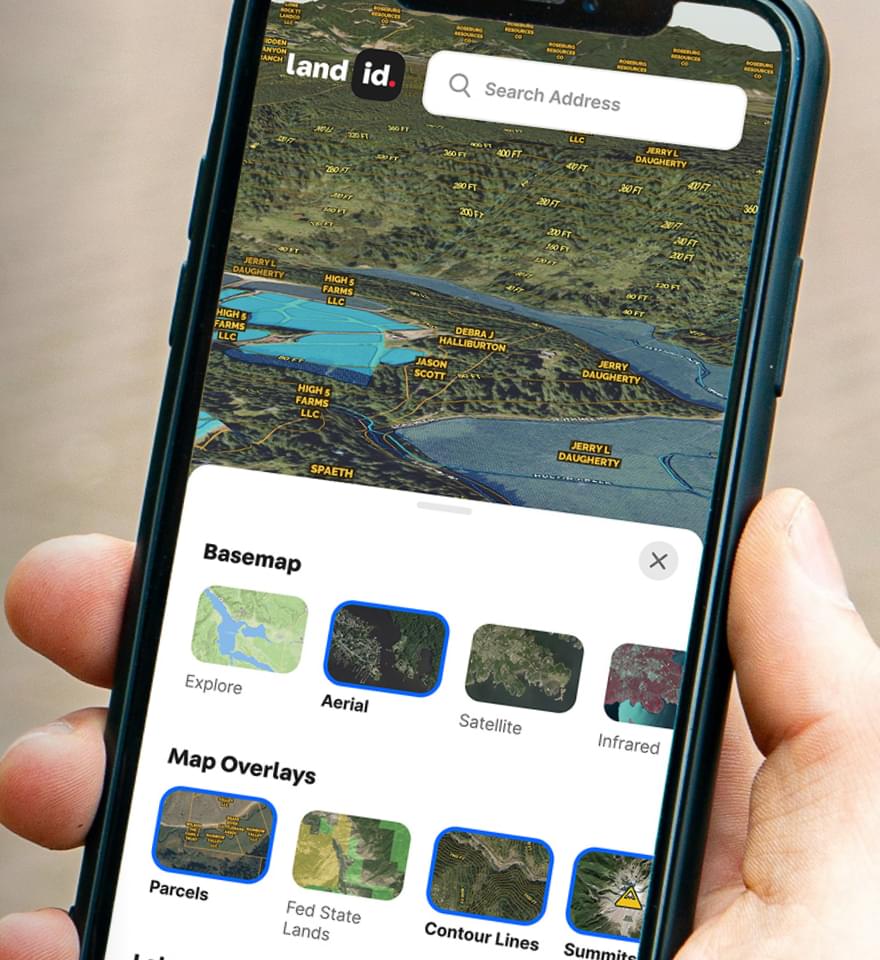
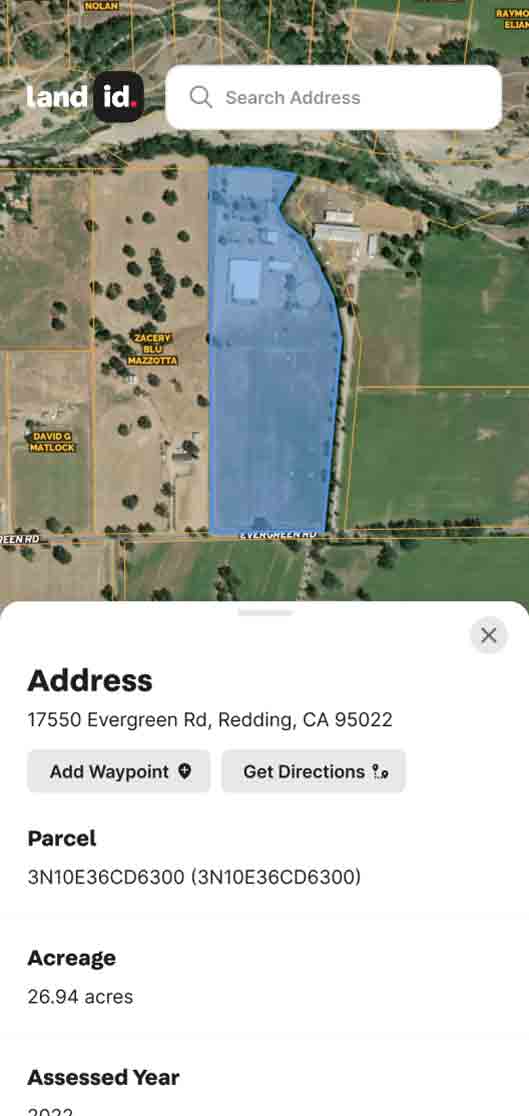
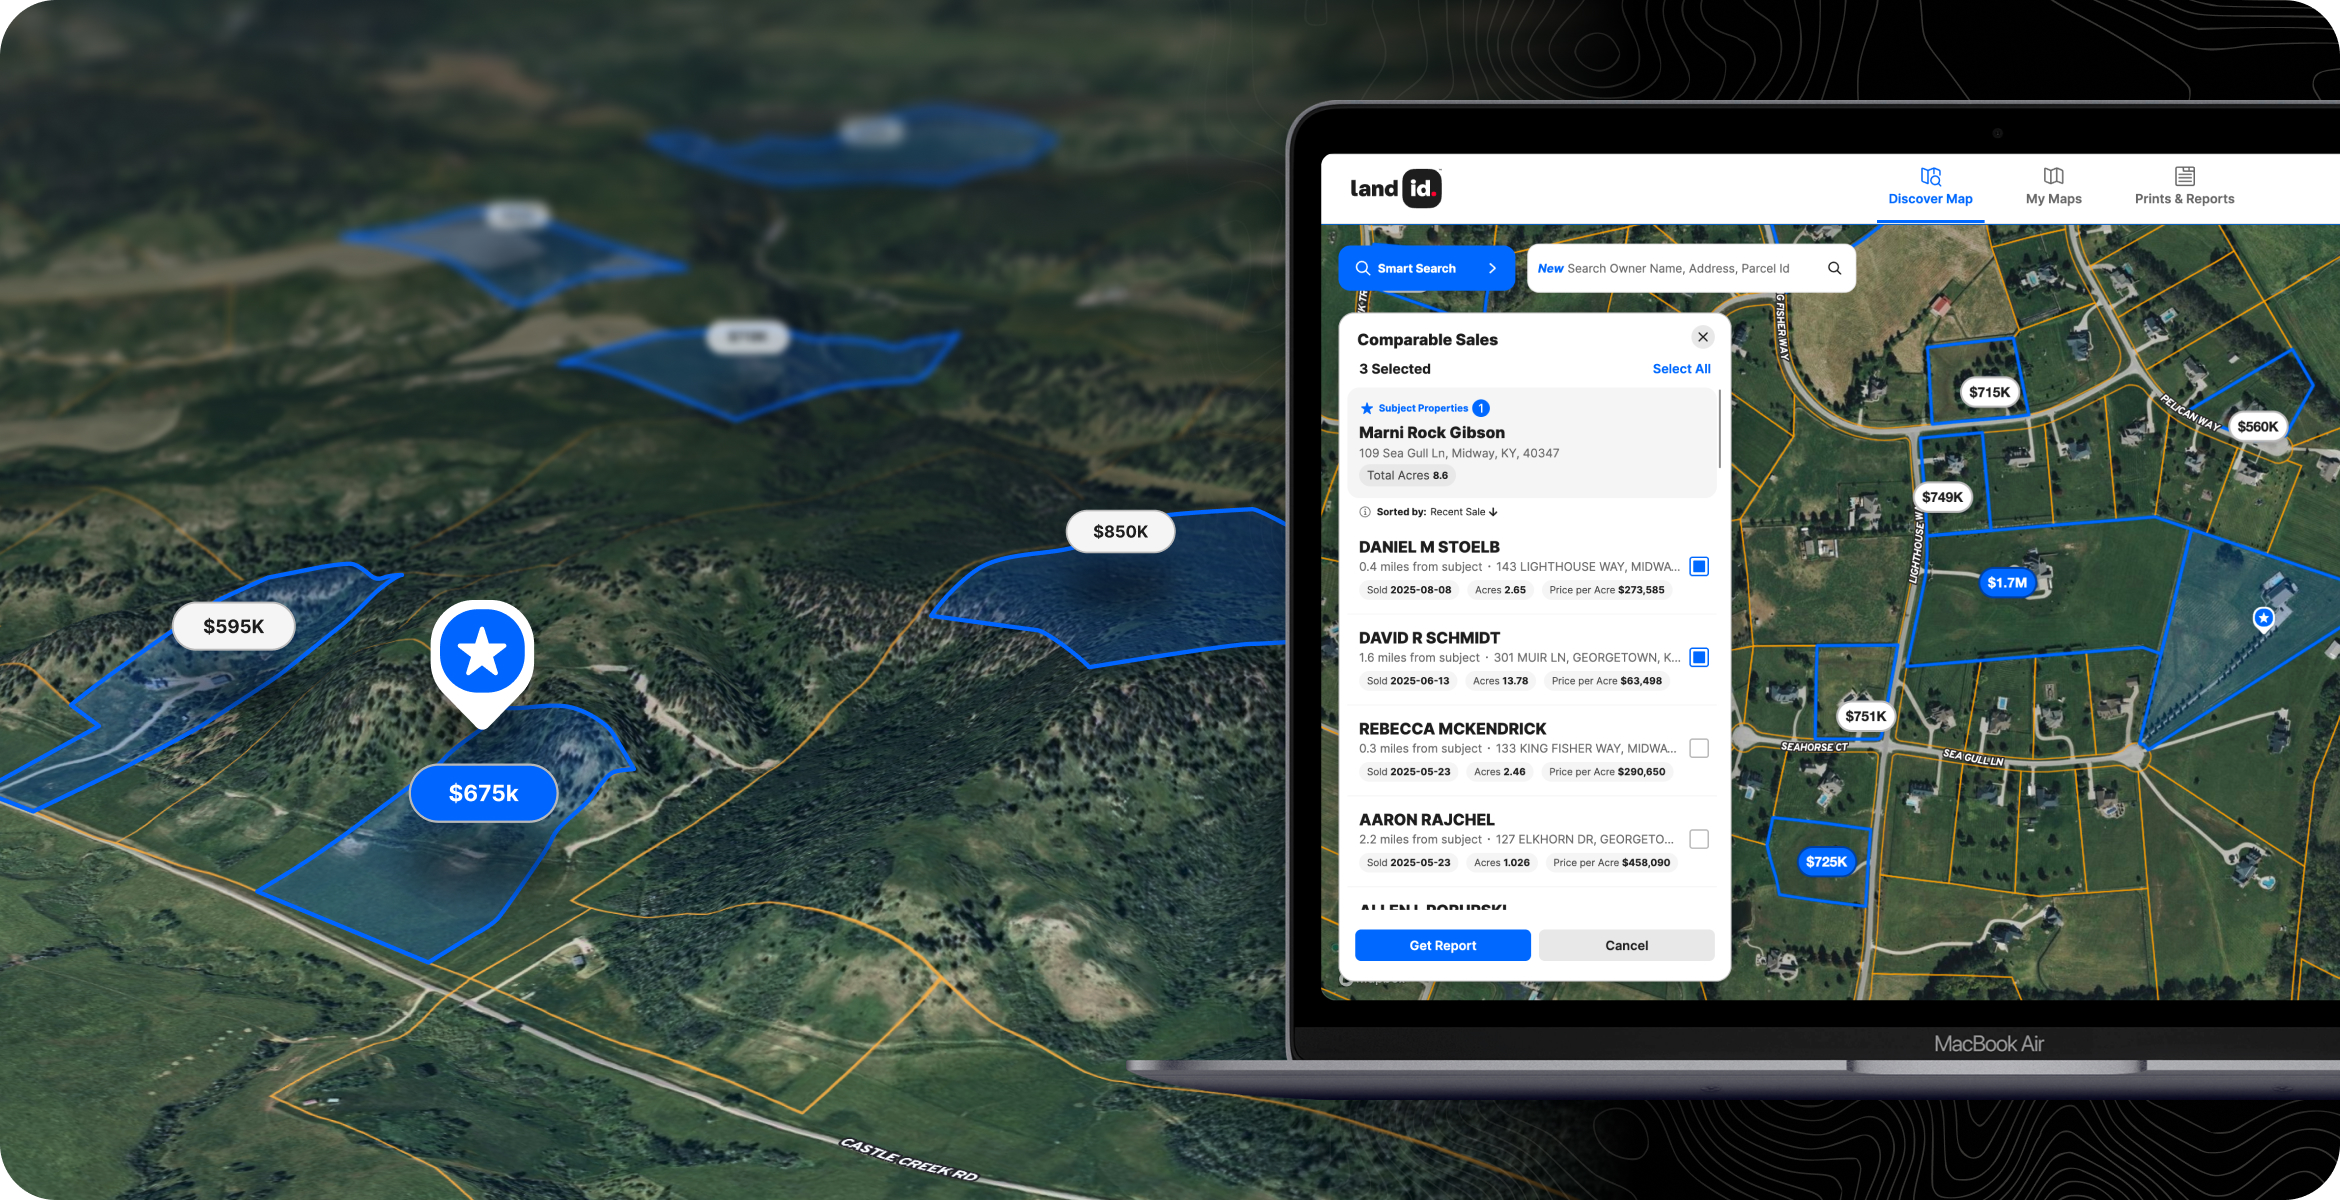
Whether you own or manage farmland, you need a modern, easy-to-use mapping solution that allows you to spatially analyze and manage the logistics of your farming activities. On a single property, there could be dozens of fields, wells and other water sources, an intricate irrigation system, and other infrastructure. Land id® (formerly MapRight) gives you an interface to visually communicate the lay of the land to everybody and better manage your resources. Manage crop locations, map out water sources, take and attach photos to points on your maps, and spatially view data such as soil surveys, topography, and floodplains together on a single, interactive map.
If you’re looking for a way to better manage your crop production activities, Land id® helps you visualize your land in a whole new way. To try it for yourself, sign up for our 7-day free trial and make your first map in minutes.
FAQs

Continue Reading


